No More Ads
Pi-hole is a DNS sinkhole that blocks ads and trackers at the network level for all devices in your home. It's open-source, free, and works on Linux systems. With customization options, it improves privacy and can manage network settings through its DHCP server function.


The first service that I set up in my homelab that would benefit everyone in the house was Pi-hole. Pi-hole is an open-source application for blocking ads and Internet trackers at the network level, available at no cost. Compatible with Linux systems, including the Raspberry Pi, it functions as a DNS sinkhole to prevent unwanted content from reaching user devices. Additionally, Pi-hole has capabilities to serve as a DHCP server, assigning IP addresses and managing network settings for connected devices. This software offers extensive customization options, including domain filtering, the creation of allow and block lists, and the ability to personalize its web interface. Pi-hole's primary goal is to enhance privacy and security by filtering out intrusive ads, trackers, and harmful content. It boasts a user-friendly setup process and can be managed either through a graphical web interface or a command-line interface for advanced users. We will also utilize some of its local DNS functionality.
I decided to use ttech scripts that he has on GitHub. I would highly recommend to always take a look at the source code when running things like this in your homelab so you actually know what it is doing. After looking at their code I decided to use it for a few services. Pi-hole being one of them. So head over to this LINK and look up Pi-hole. You can follow the instructions there or mine below. Tteck's script is great for the baseline but I will show more in-depth configuration
Installation
Copy the below script.
bash -c "$(wget -qLO - https://github.com/tteck/Proxmox/raw/main/ct/pihole.sh)"Now head over to your Proxmox node and open a shell
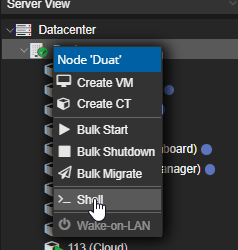
Once logged in paste the script and run it.
Run through the setup options
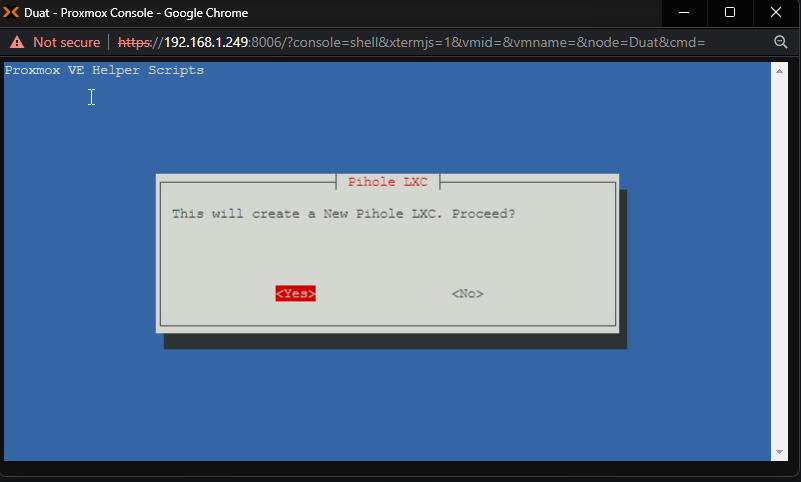
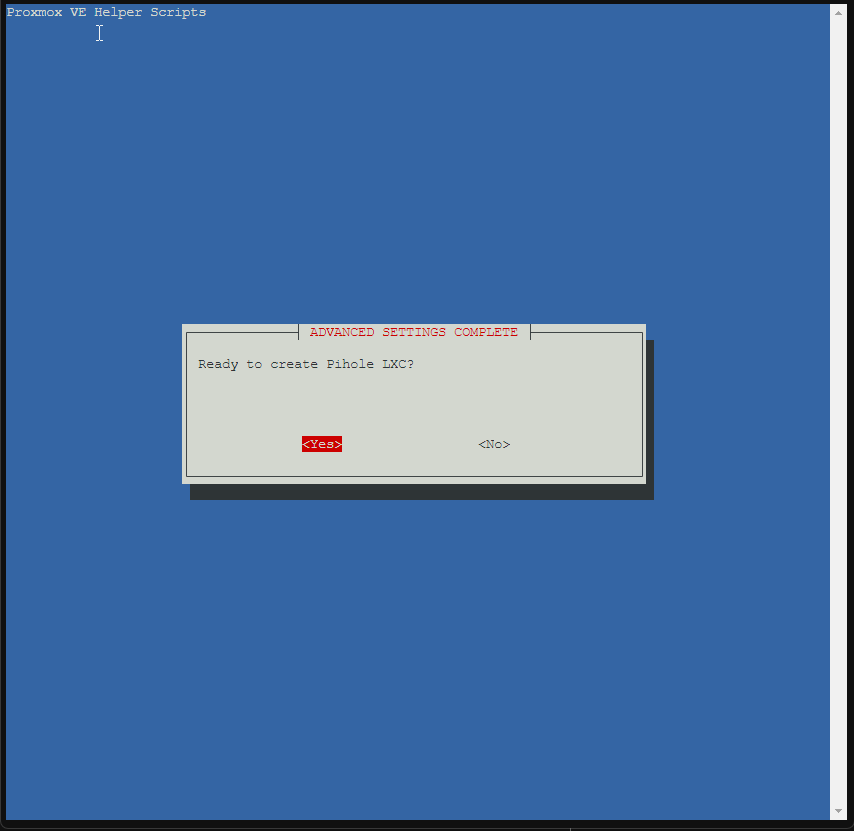
This will start the helper script and ask if you wish to proceed with creating the LXC
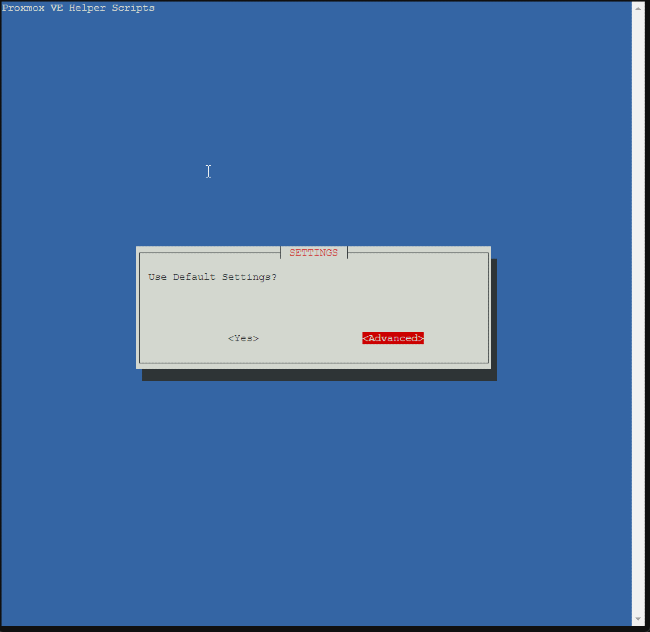
This next bit will be a little boring but it is an easy setup.
We will use the advanced options as I want to setup some extra resources now for some other things that will be on this machine as well. If you do not want to do this you can just use the default settings and it will work great.
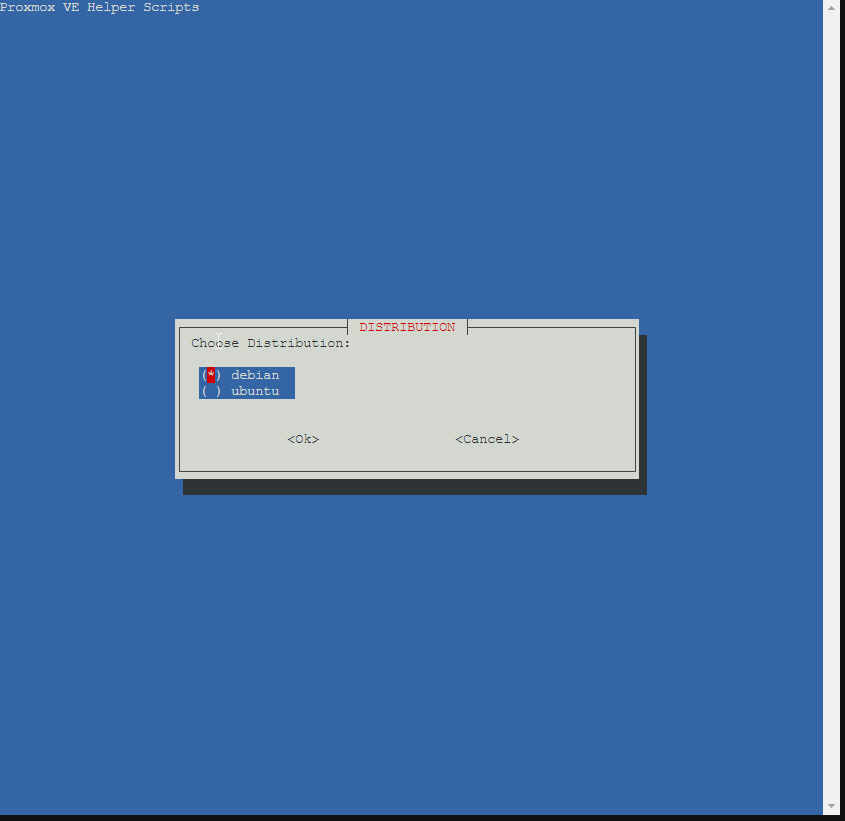
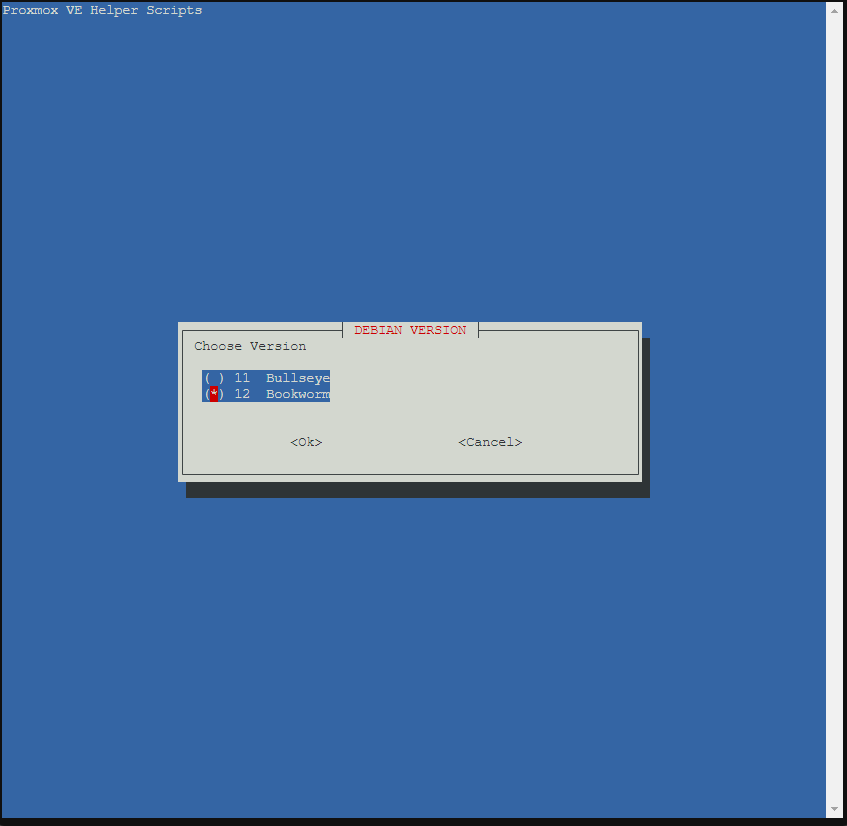
The operating system you choose is up to you in my case I like Debian so I will choose that as well as 12 because well it is the newest version as of writing this
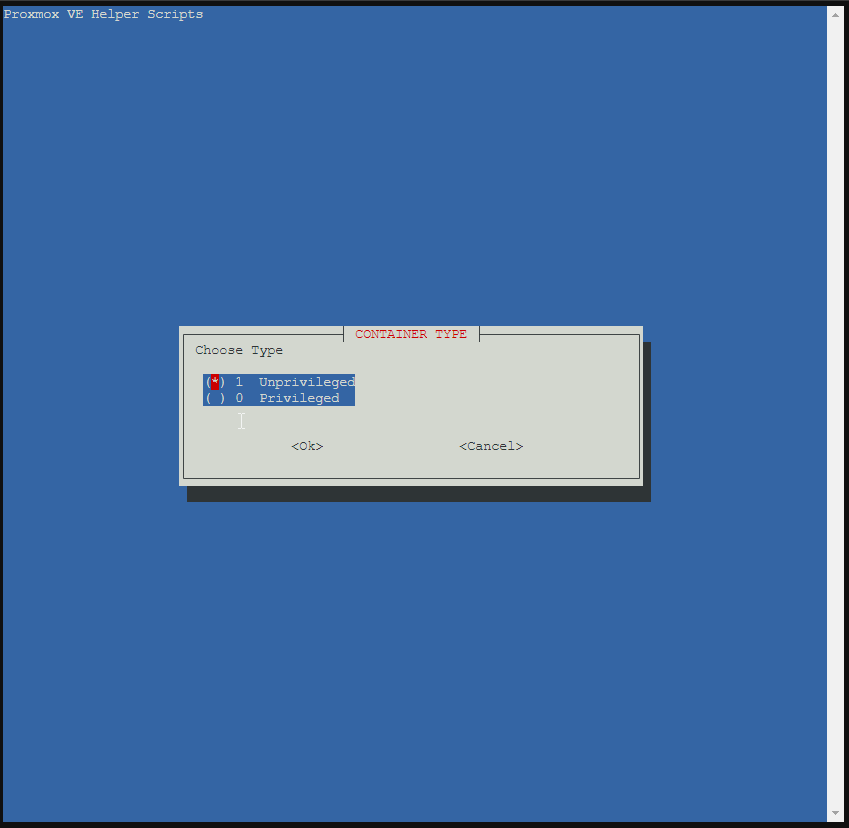
The next option is asking if you want an unprivileged or privileged LXC. Select which ever you choose. I have tried both and it does not really seem to matter for the application.
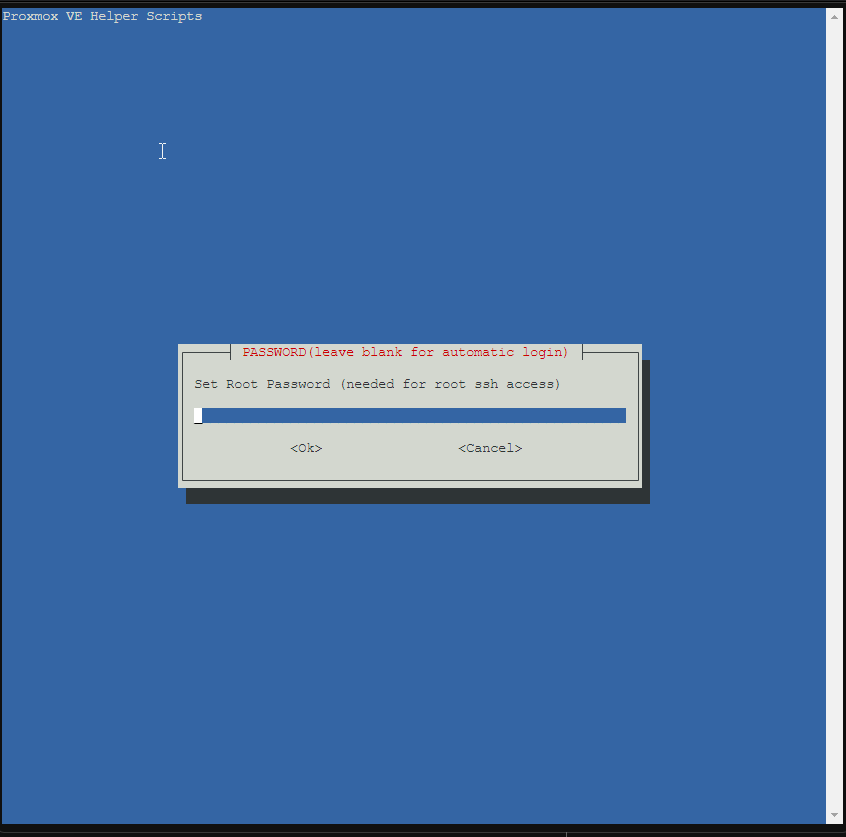
Then we have to set a root password. If you do not set one when you open a console through Proxmox it will just log in. I prefer to have a password on things so set it here.
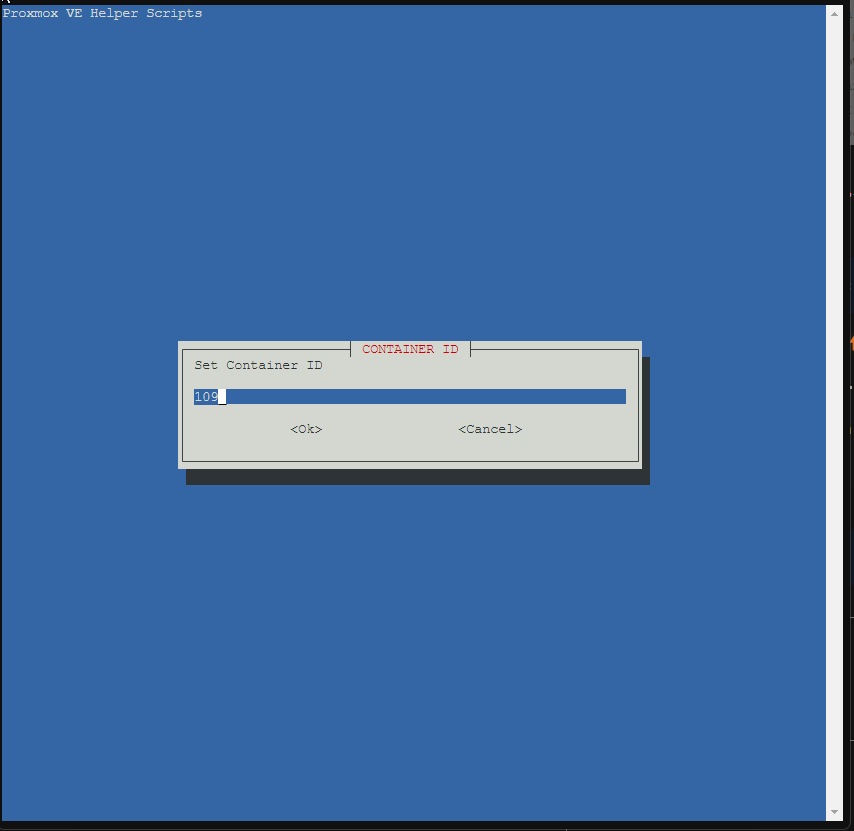
The next option is for container ID. It is always a good idea to set up your container ID's with some sort of standard. For instance my production LXC's are all 100, my production VM's are all 200, my mess around ID's are all 300.
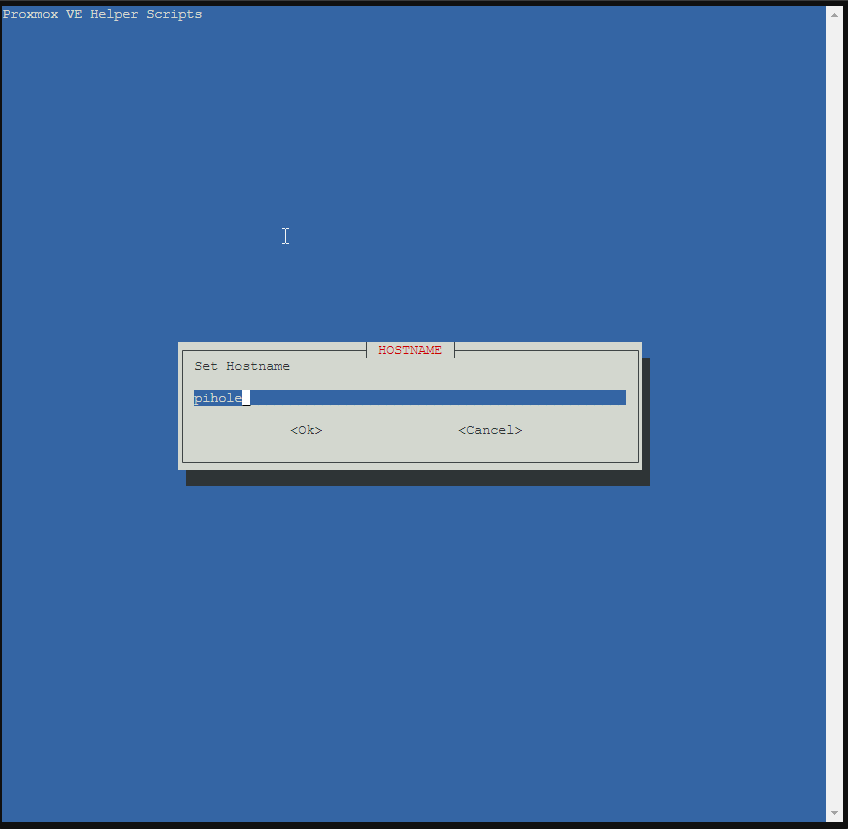
Then we have to set the hostname set it to what ever you like
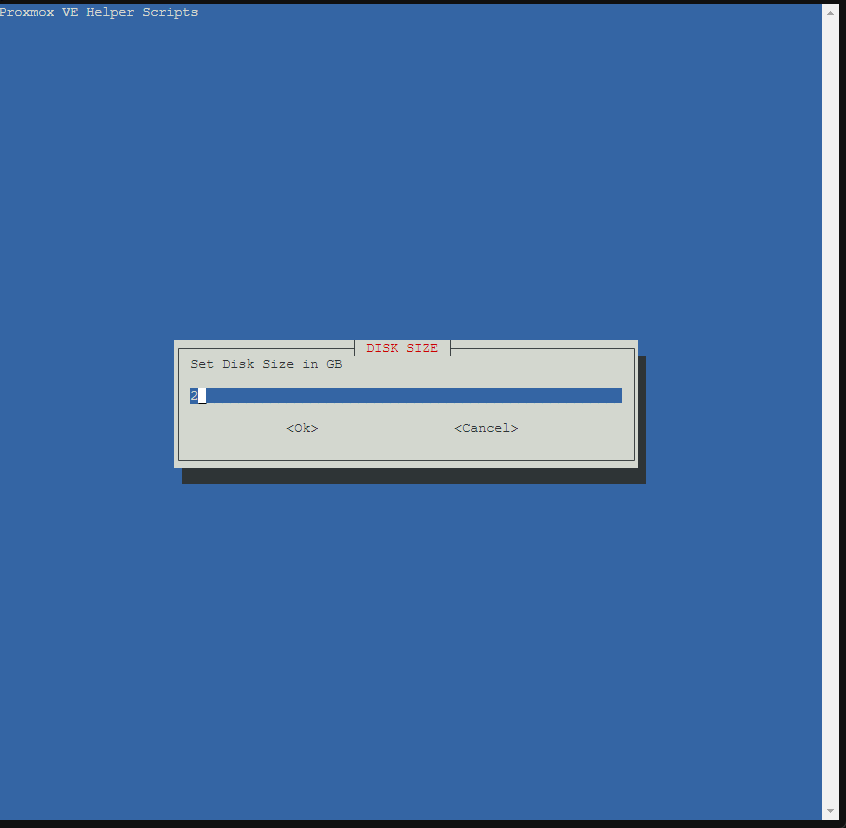
Disk size is next the default 2GB is enough
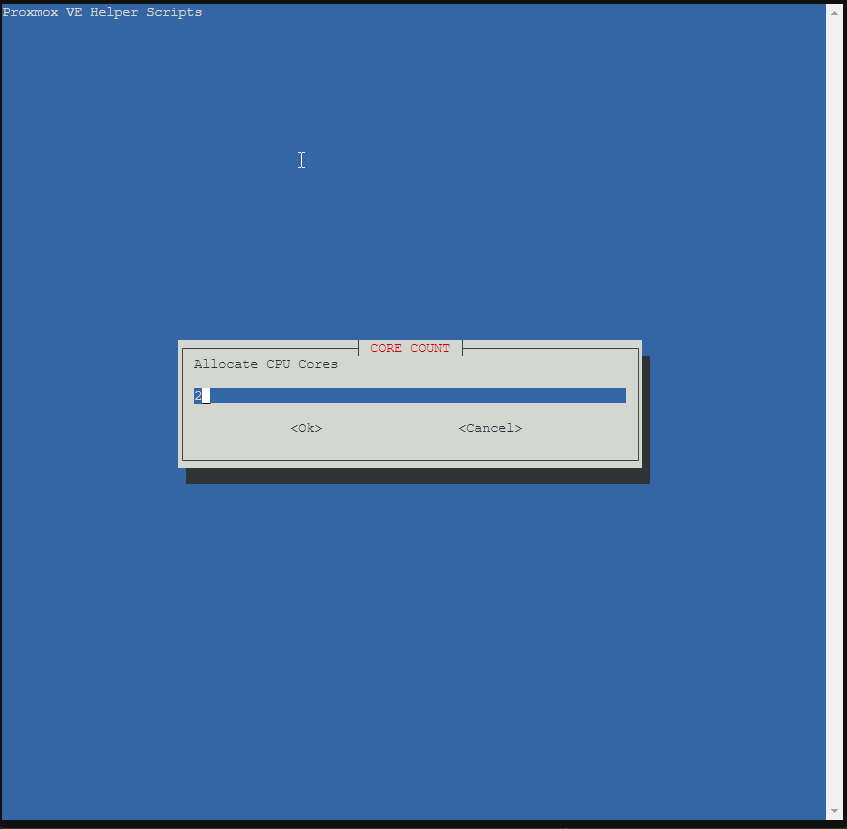
We are going to change the one core to two cores so that we have a bit more processing power for the other things we are going to add later.
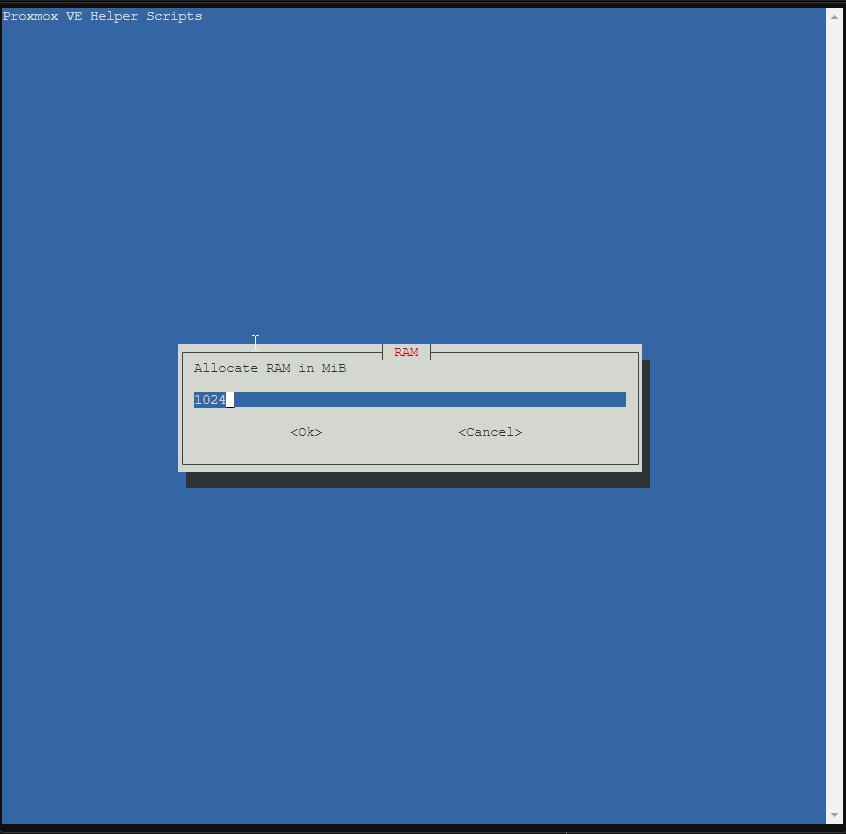
We are also going to allocate a full GB of RAM or 1024 MiB
The next option will be the which bridge you want to use. I have several in my server so make sure you select the correct one for your setup.

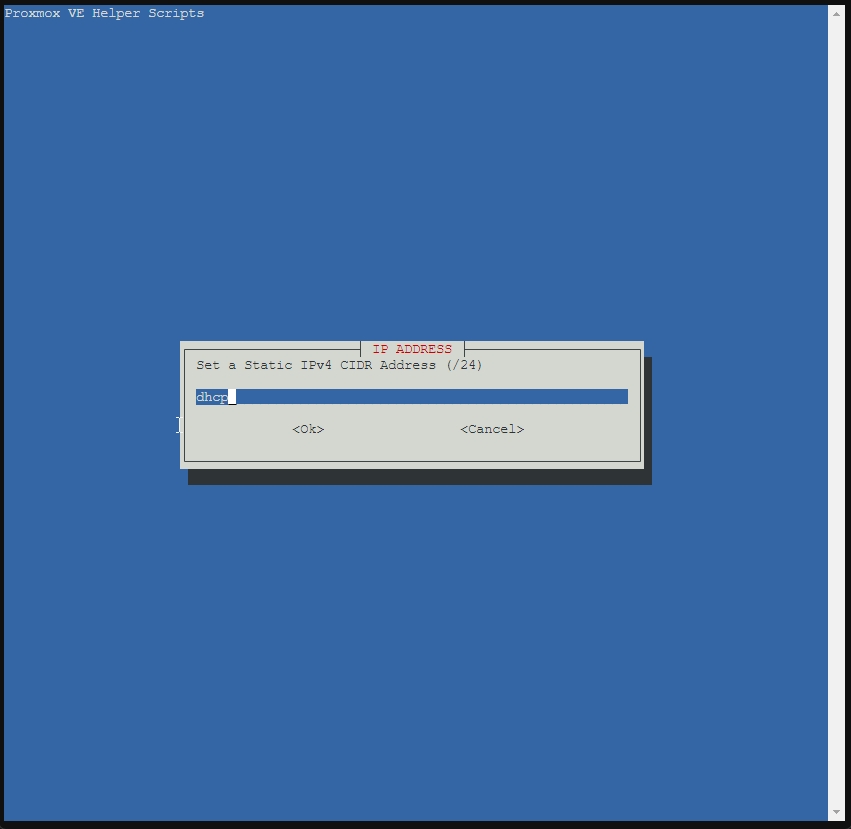
The IP address is the next option and for this I just used DHCP and then went into my router later and reserved whatever IP it was given. This step is important. Since Pi-Hole will act as the DNS (Domain Name Server) in our network it requires a static IP address.
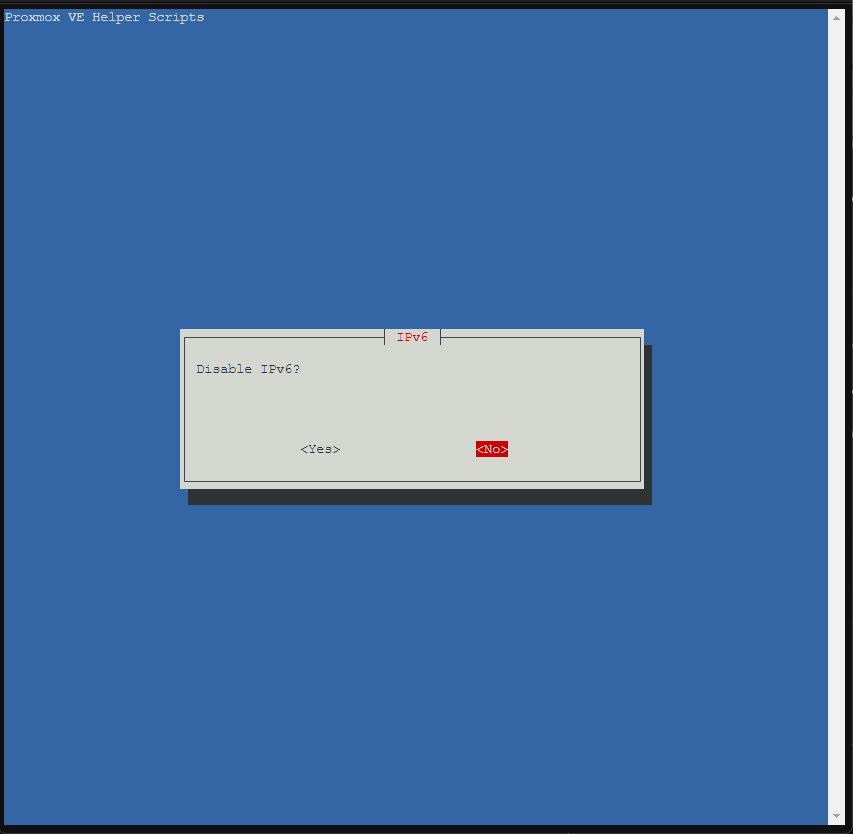
The setup wizard will ask if we want to disable IPv6. Again I have tried both and didn't see a difference so I went with the default of No.
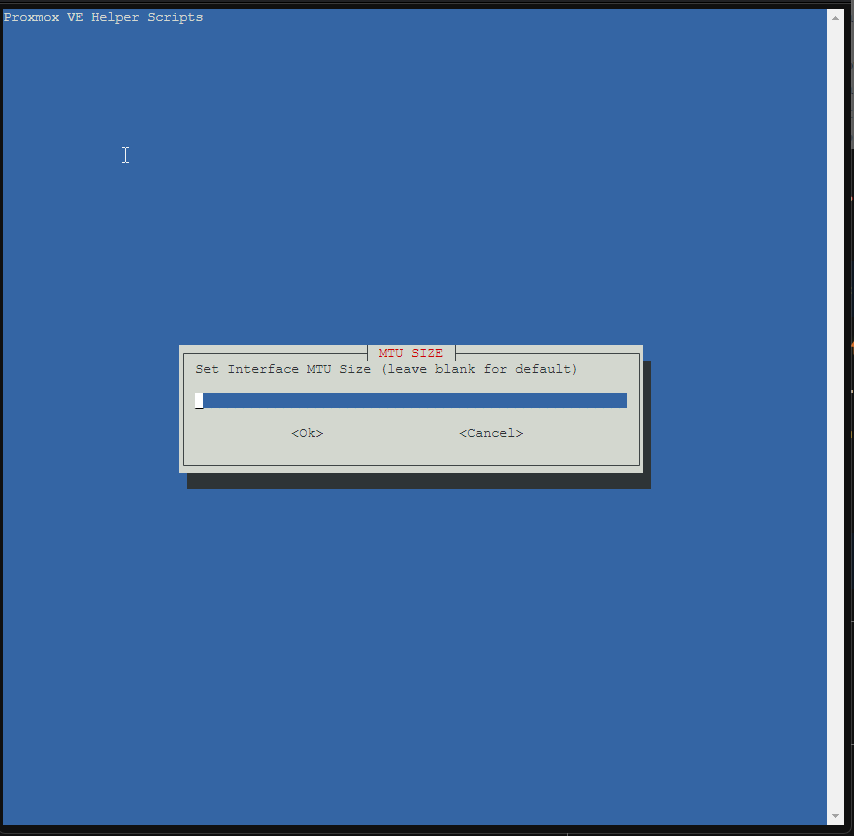
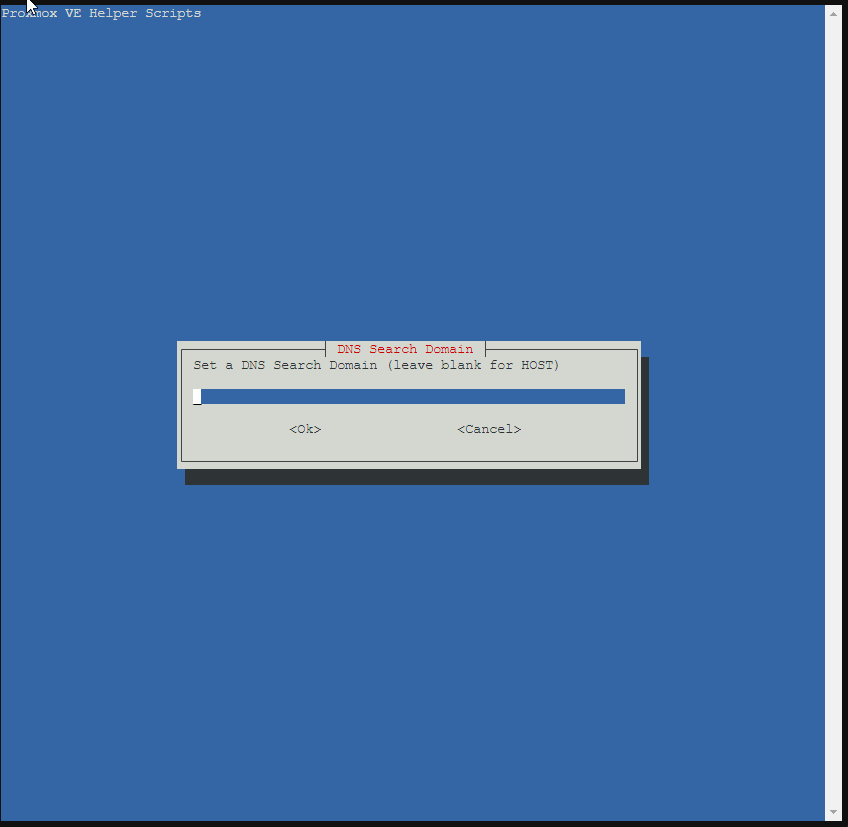
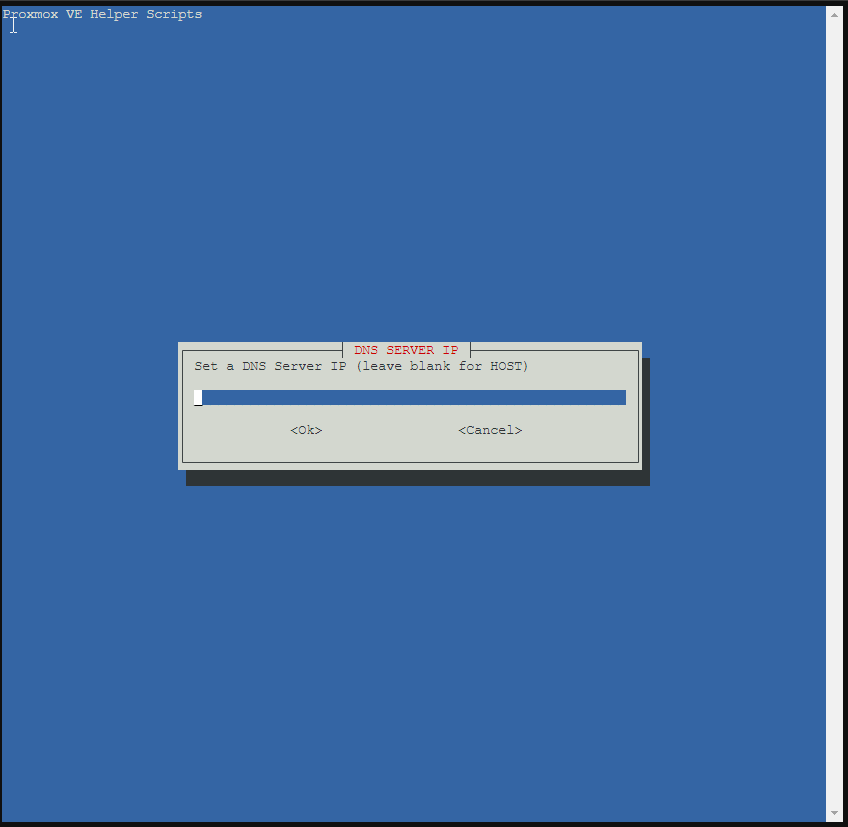
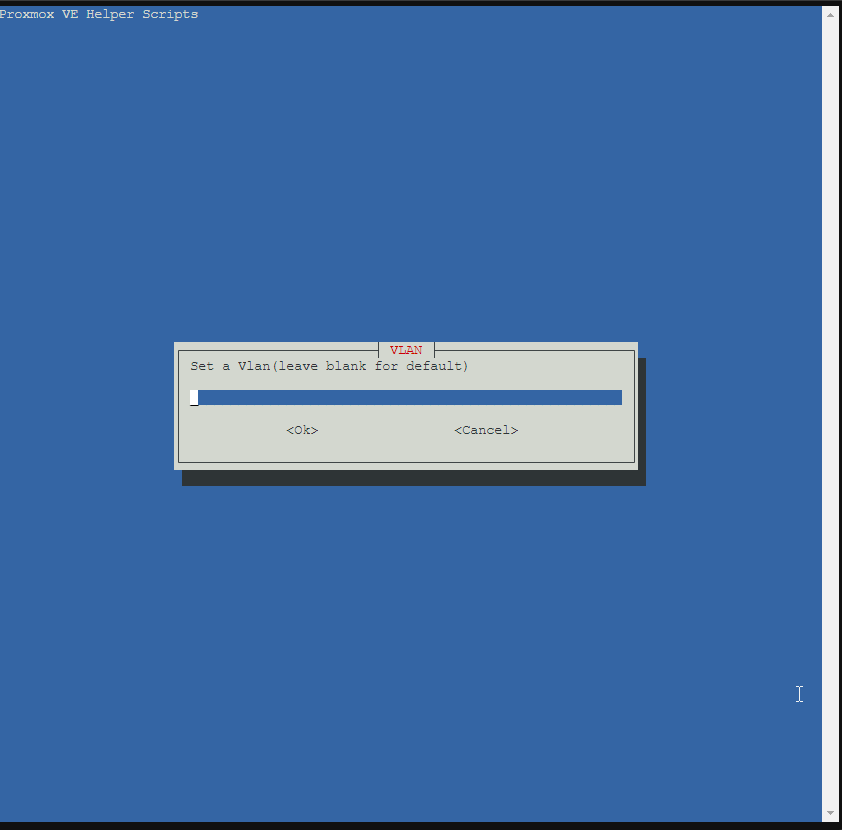
The next few options I went with the default for all of them. Unless there is a specific use case for you to not choose the default I recommend just using the defaults.

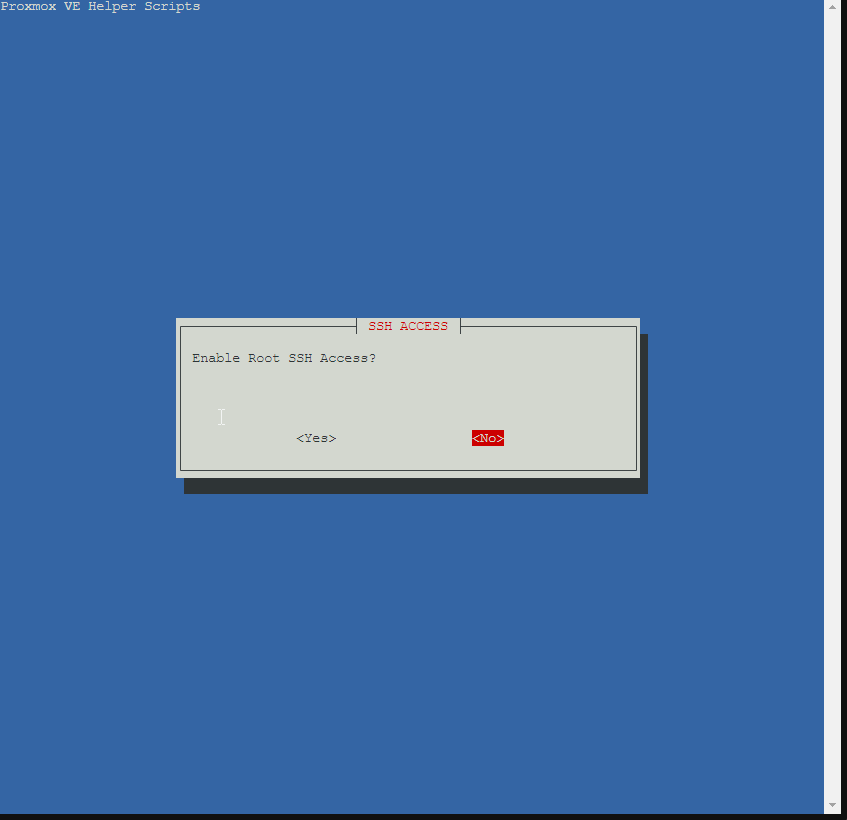
The next option is if you want to allow Root SSH access. In the name of security I choose no. Unless you need root access through SSH select NO.
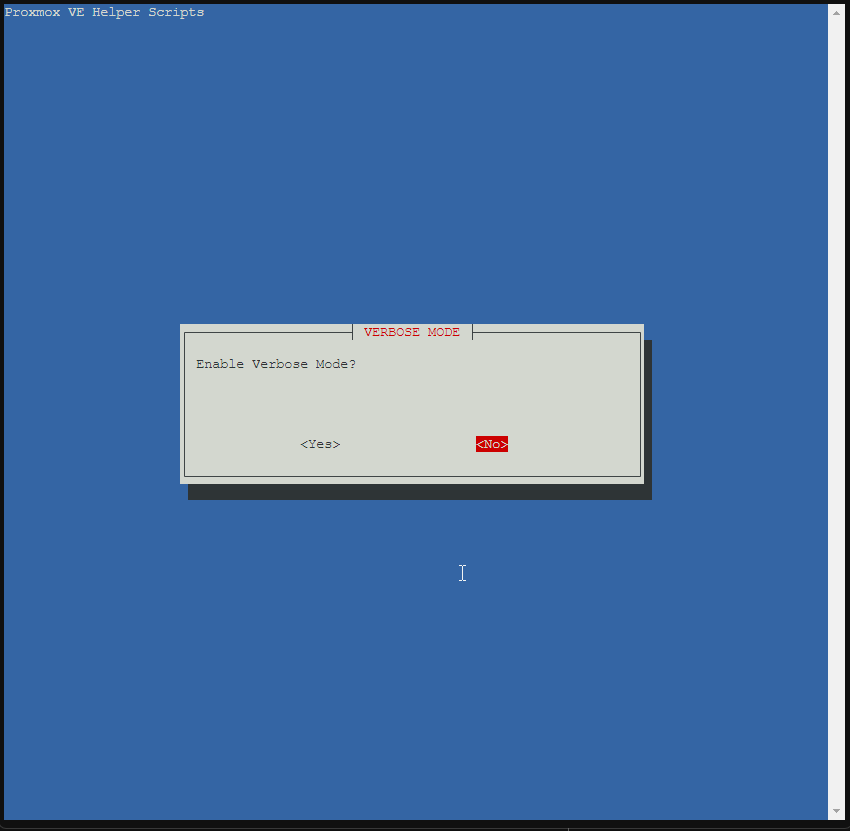
On the last two options I just took the defaults.
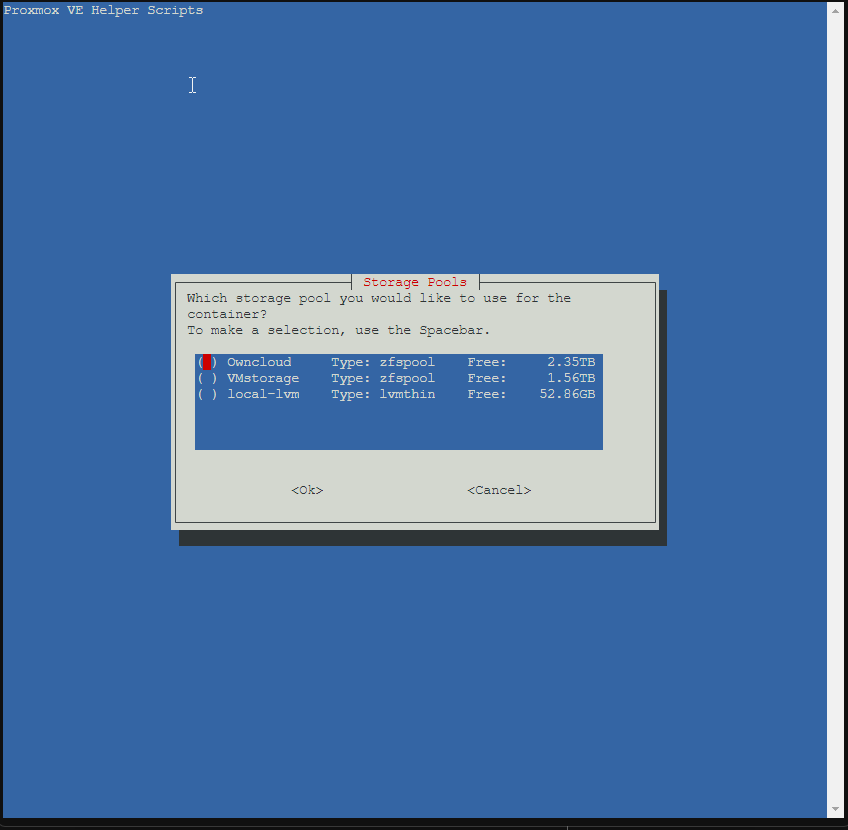
The last option we have to set is where the storage will come from. In my setup I have a ZFS pool for my VMs and a ZFS pool for my next cloud. Choose which ever one you want to have the data stored into.
Update the container
Then we just set the script run. It will do everything for you and give you. Once complete it will list how to start using PI hole. Before we do that we should login to the shell and do some other configurations.
apt update && apt upgrade -yNow we need to set the password do this with this command and make it a strong one
pihole -a -p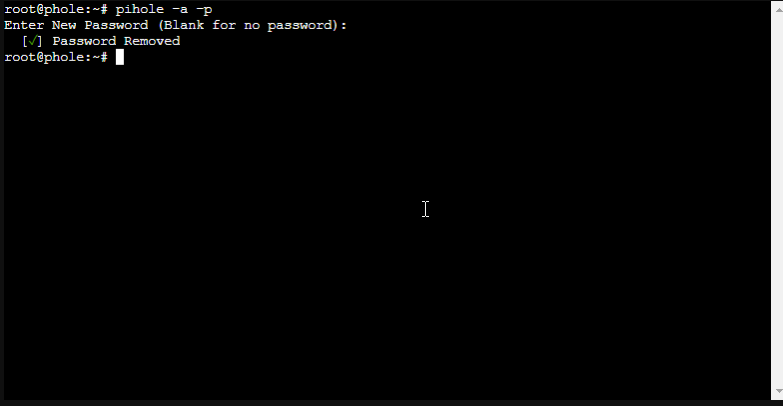
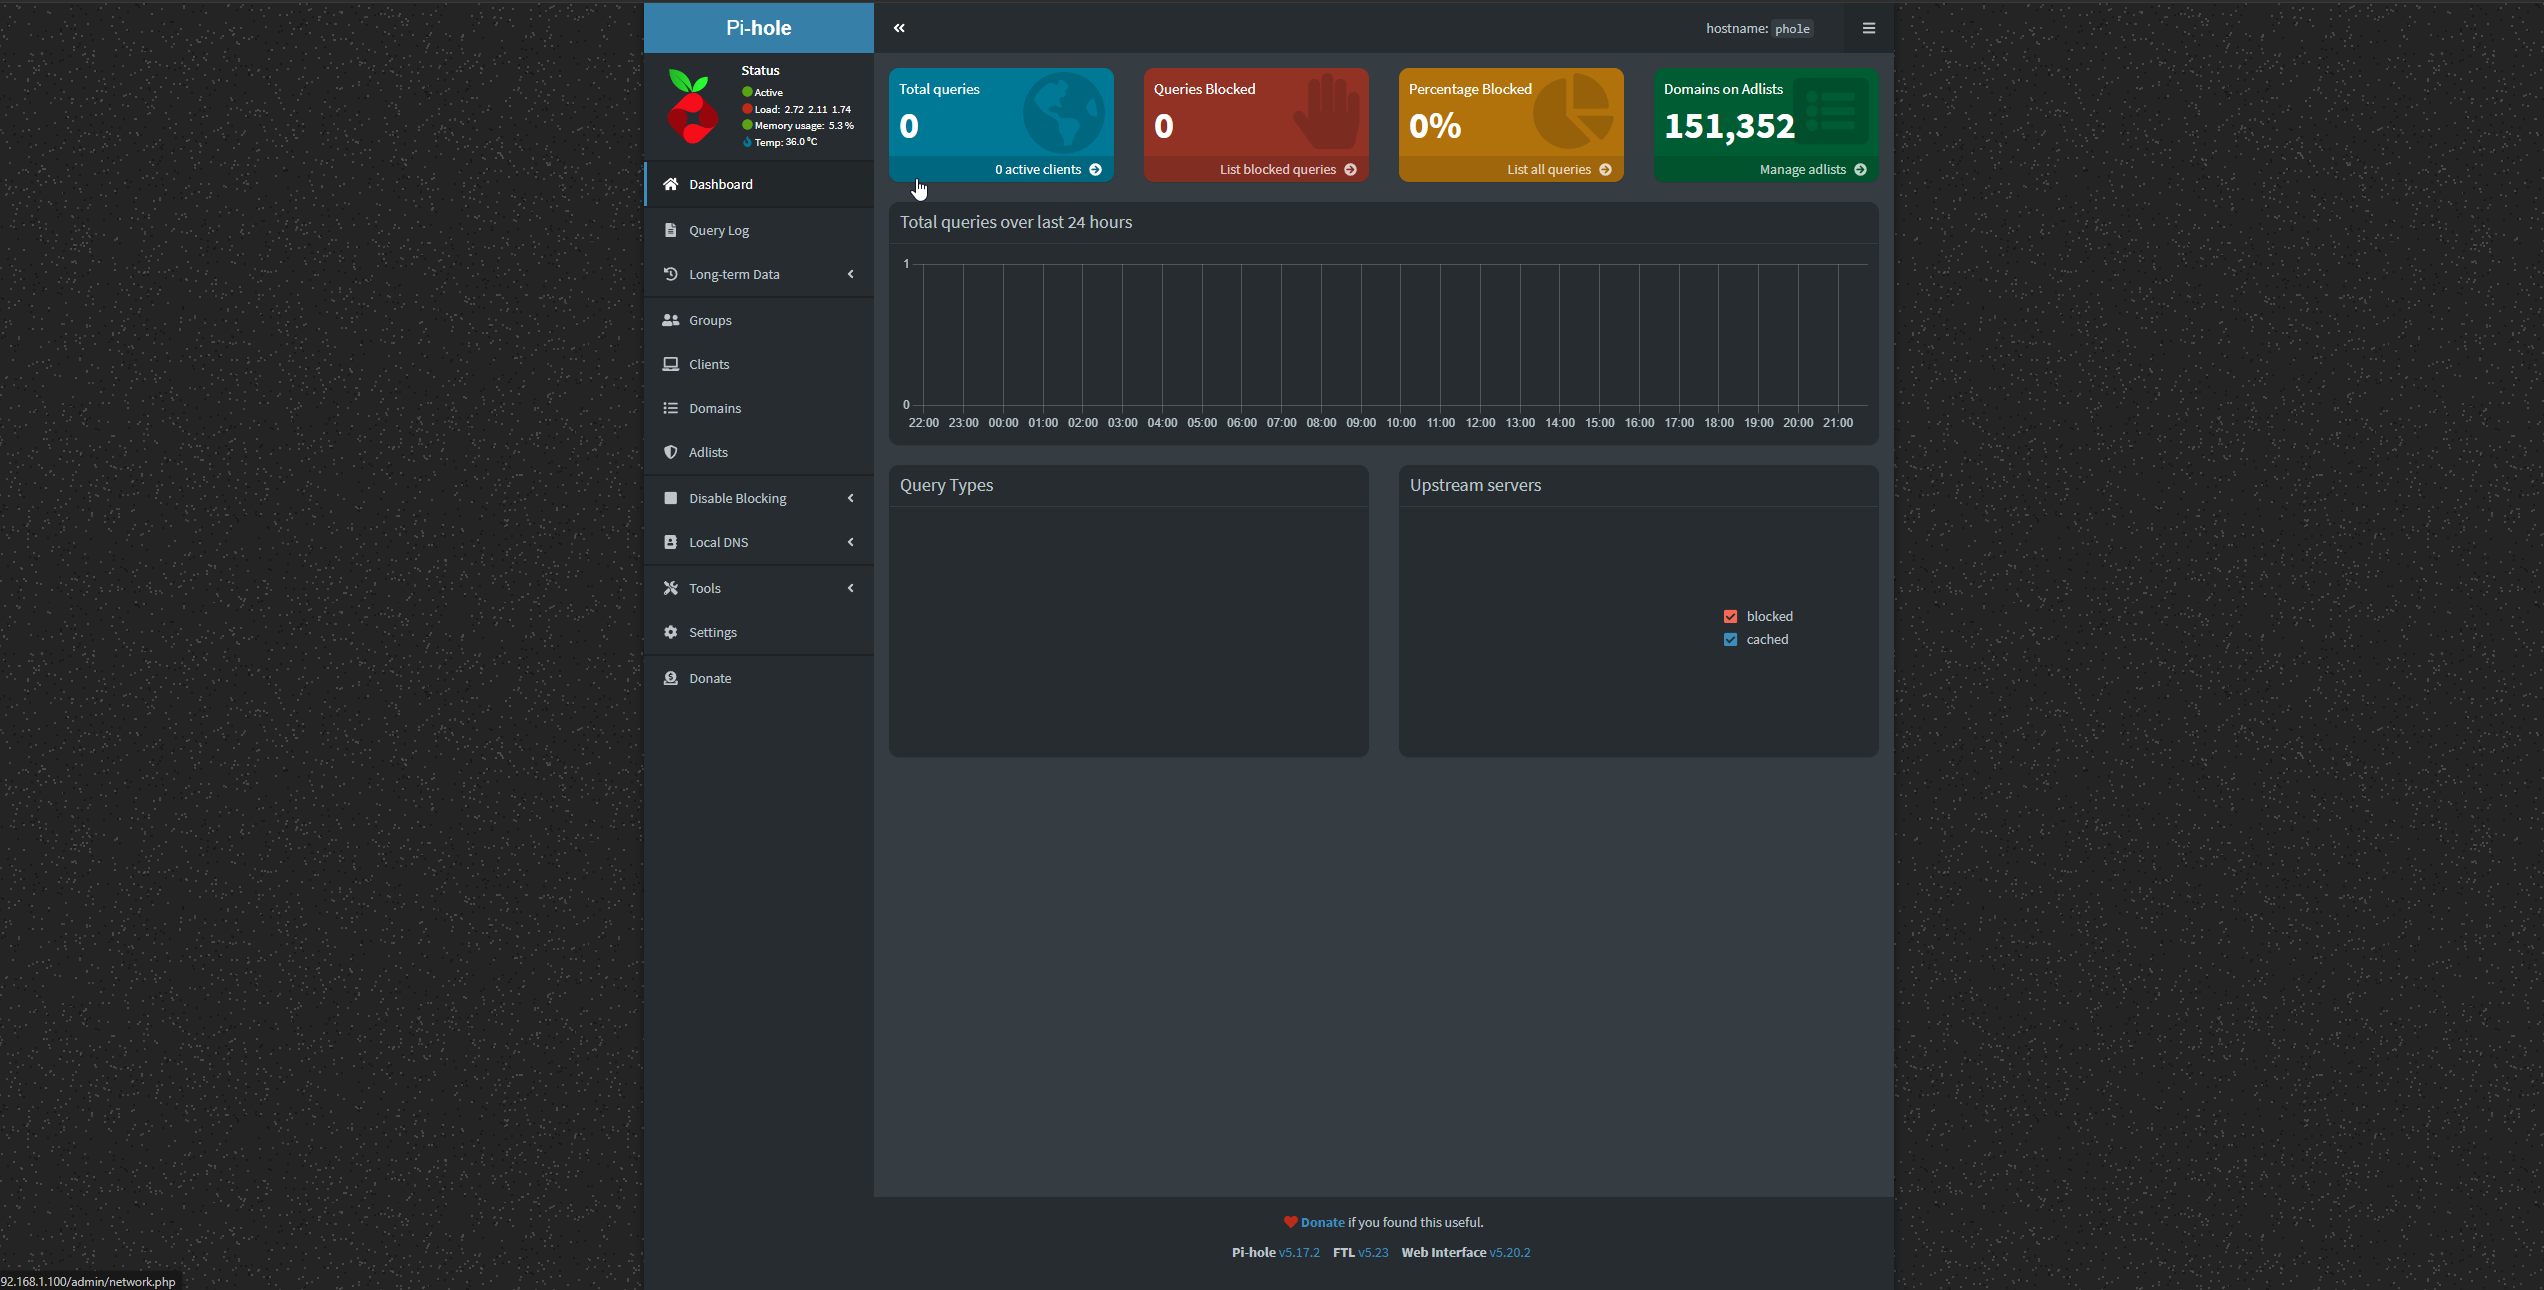
Login
Now we can go to the <IP>/admin and login.
Configuration
That is all you need to install Pi-hole. As this entry is getting a little long I will break up the configuration and save that for the next post. Once it is done the link will be HERE.